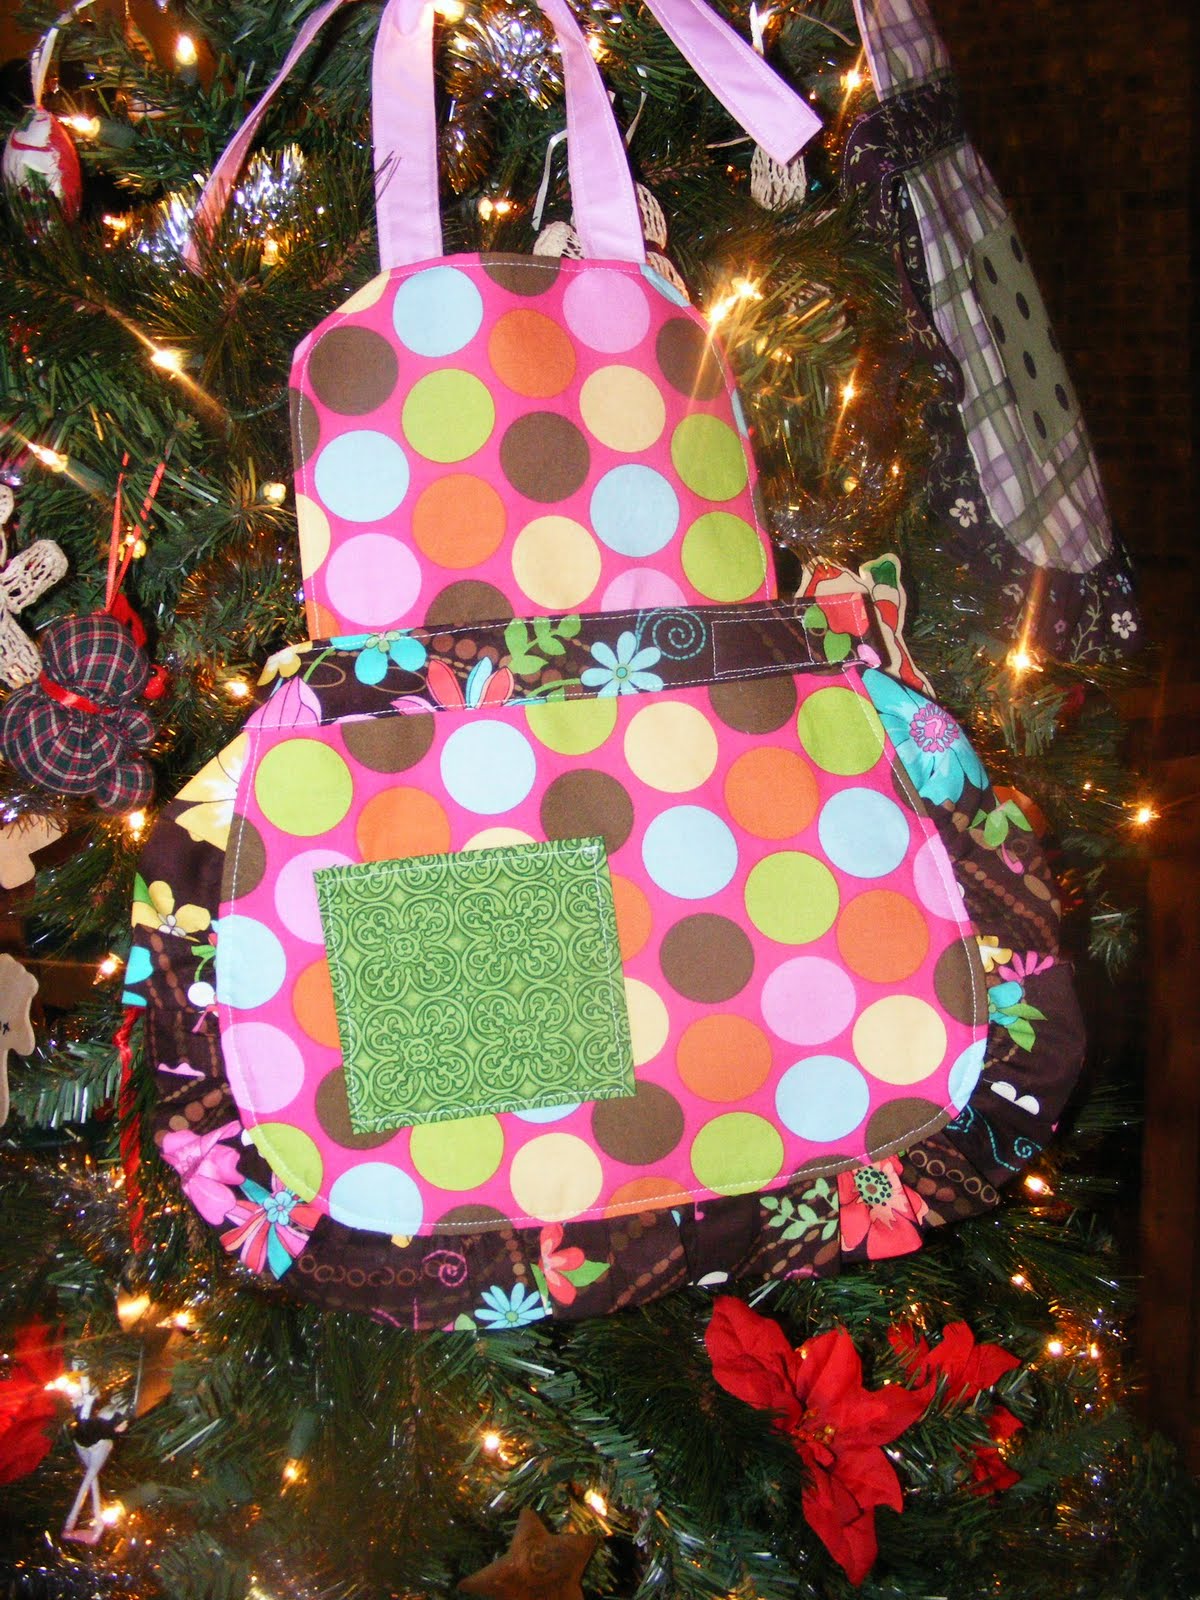
For Christmas we draw names with all the cousins on my hubby's side of the family, I was lucky enough to draw the names of all the 2-3 year old girl cousins this last year. I decided to make them each some felt food and an apron. They turned out great! I was so excited! After I made my first apron I decided that I'd do a tutorial since I got a lot of my information from several different sources to make this one pattern.
Some disclaimers:
1) I made 4 different aprons, each one a little different from the next. Some of the steps are done with fabric from one apron, other steps are with fabric from another, I hope its not too confusing.
2) My sewing machine was on the fritz, really making it difficult to make straight seams. I'm putting these pictures up anyway. Don't judge me, the 2 year old girls didn't care!
3) I'm not a professional anything... seamstress, pattern designer, photographer. The lighting at my sewing table is less than ideal, especially for photography. I hope you can get the information you need still. This was my first attempt (and a rushed one at that) with this design, so there are flaws that you and I could definitely improve upon. Like I said, I just thought it would be nice to have a one stop spot for this design rather than having to hunt all over the web for the snippets I used from others.
OK, now that you know where I'm coming from, let's get to where we're going! Onto the tutorial...
Supplies: You can make this general design any way you want. For a child or an adult, a girl or a boy each with minor adjustments. This tutorial will be for a little girl approximately size 3T. I used measurements based on the tutorial found at
Skip to my Lou. You can download the template for the bottom of this apron at the link. You will need:
- Two pieces cut from the above template. One for the front, one for the back. I used a contrasting solid to line my apron.
- Two pieces cut for the top, front and back. I made a pattern piece by folding a sheet of 8.5 x 11 paper in half lengthwise and drawing a rectangle with one rounded corner (with the fold being one side of the rectangle). I wanted it to be about 1 1/2-2 inches smaller across than the bottom piece.
- One strip of contrasting fabric cut 4 inches by 45 inches for the ruffle.
- One strip of same contrasting fabric cut 5 inches by 25 inches for waistband (from skip to my lou: Take waist measurement and add about 5 inches to determine length of fabric needed).
- Two strips of solid contrasting fabric cut 4 inches by 20 inches for neck ties (ribbon would also work well... and be easier).
- One contrasting fabric cut to size of pocket you want (not pictured).

The strips: The first thing you want to do is work with the strips for the ruffle, waistband, and neck straps. Each strip you want to fold in half lengthwise and press. Fold ruffle piece right sides together. Fold the others wrong sides together.
For the ruffle, you want to sew the short sides (I used my serger, use 1/4" seams if using sewing machine).

Turn the ruffle, right side out and press the corners nice and tidy. You'll have a really long skinny rectangle. One side will be the fold, the short sides will be your seams, and the other long side will be open at this point. Set aside for now.
 For the waist band and the neck ties
 you've pressed them lengthwise, remember? Now open it up so you can see the line down the middle.

Next, fold each long side to that middle line and press flat. Fold short edges right sides together (like ruffle piece) and sew.

Turn those seams to the inside and fold in half along the pressed middle line again and press. So you'll have the two folded edges together.
 For the neck straps
 topstitch along each side.
 Placing neck straps:
 Take your main fabric top piece and lay the neck straps down where you want them to be. I placed mine right where the fabric came our of the curve, so they were attached at the straight edge of the top.
You want to put the straps going down, with about an inch above the top of the main fabric.

Then pin the lining fabric over the straps with ride sides of each top piece together.

Sew along the sides and top (but not the bottom) of the top pieces.

Turn right side out (see how the straps come out at the top?). Press. Top stitch.
The last thing I did was serge the bottom edge of the two top pieces together. This is one of the steps that could use some improvement, but when I make another one, I'll try to take pictures of what I'd do... I think it would just be confusing trying to describe what my plan is..
Voila, the top piece is finished!
 The pocket:
 If you have a serger, finish each edge of your pocket.

Press the finished edge under on all four sides. If you don't have a serger, press each edge under 1/4", then 1/4" again so the raw edge isn't visible.

Sew and 1/8" seam along the top of the pocket.

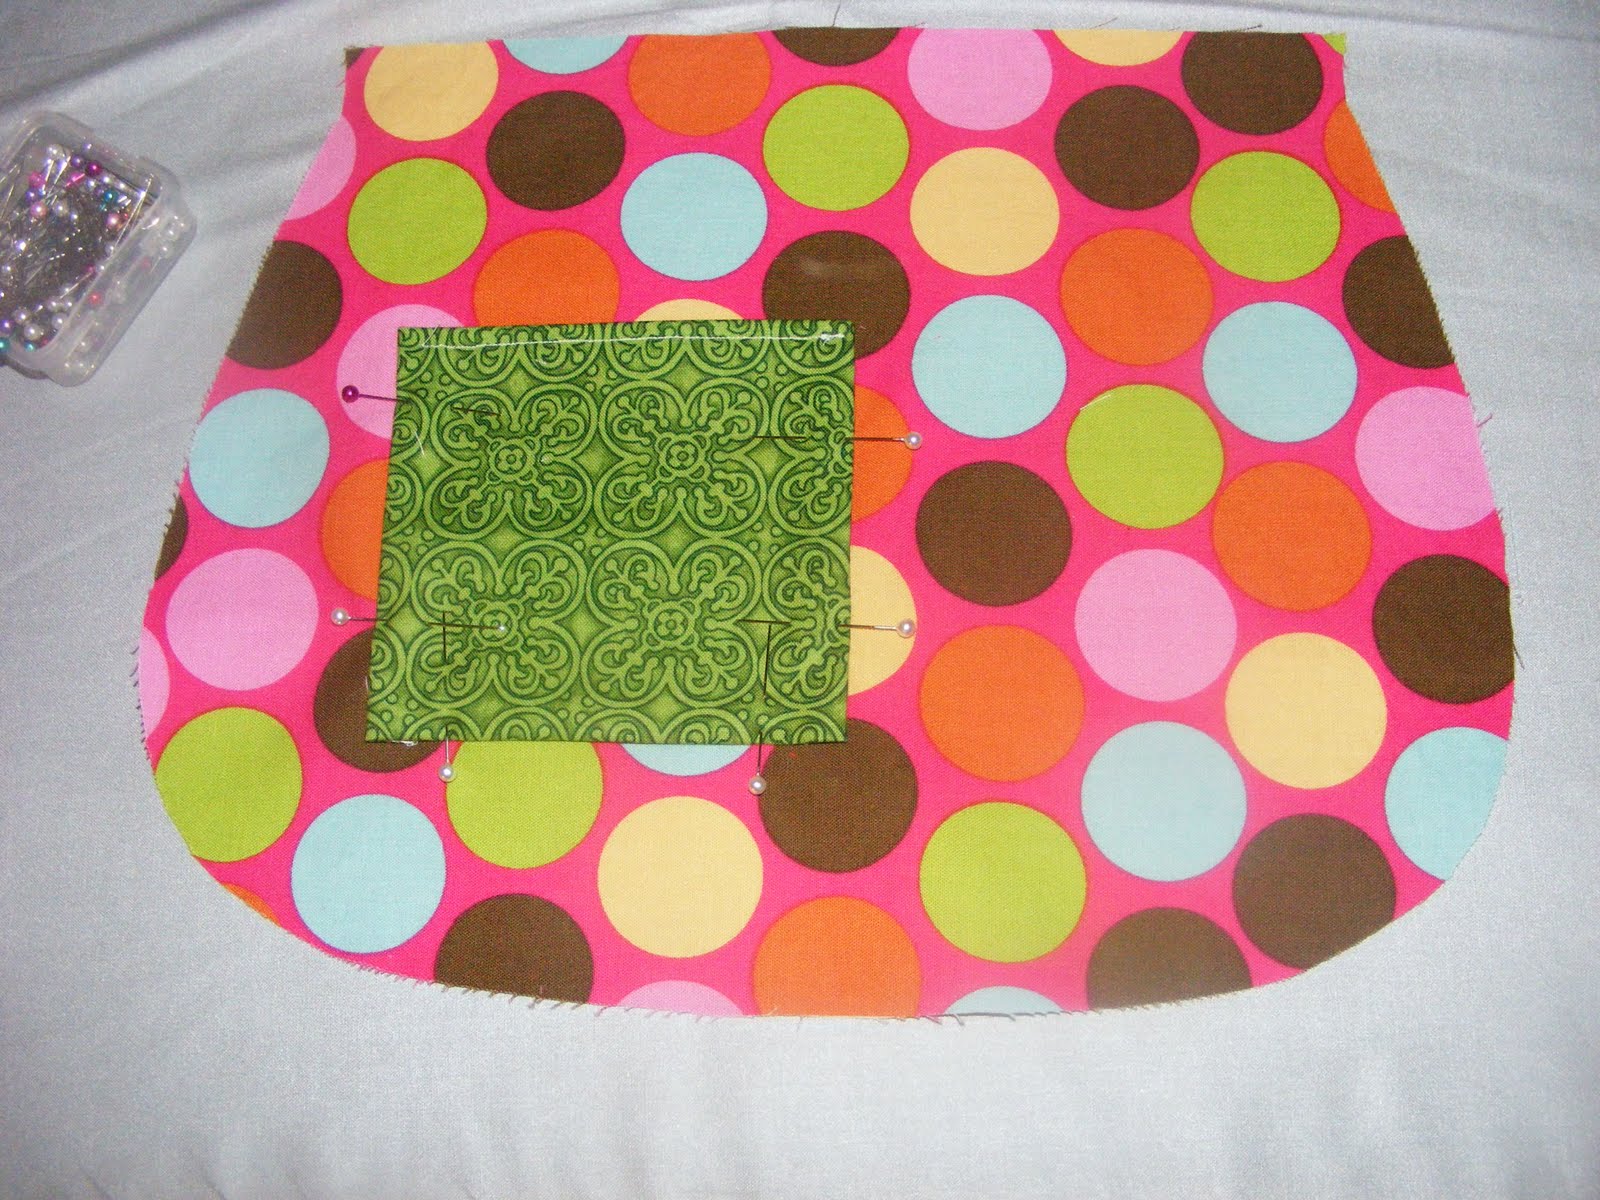
Pin pocket in place on main fabric bottom piece.
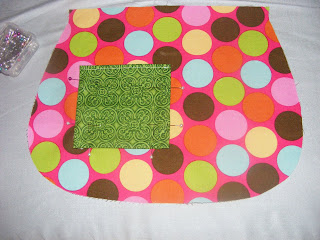
Sew along the sides and bottom of the pocket with 1/8" topstitch.

And pocket is done!
 Back to the ruffle:
 Remember that long, skinny strip that we made in the first step? OK, we're ready to move on with that one...
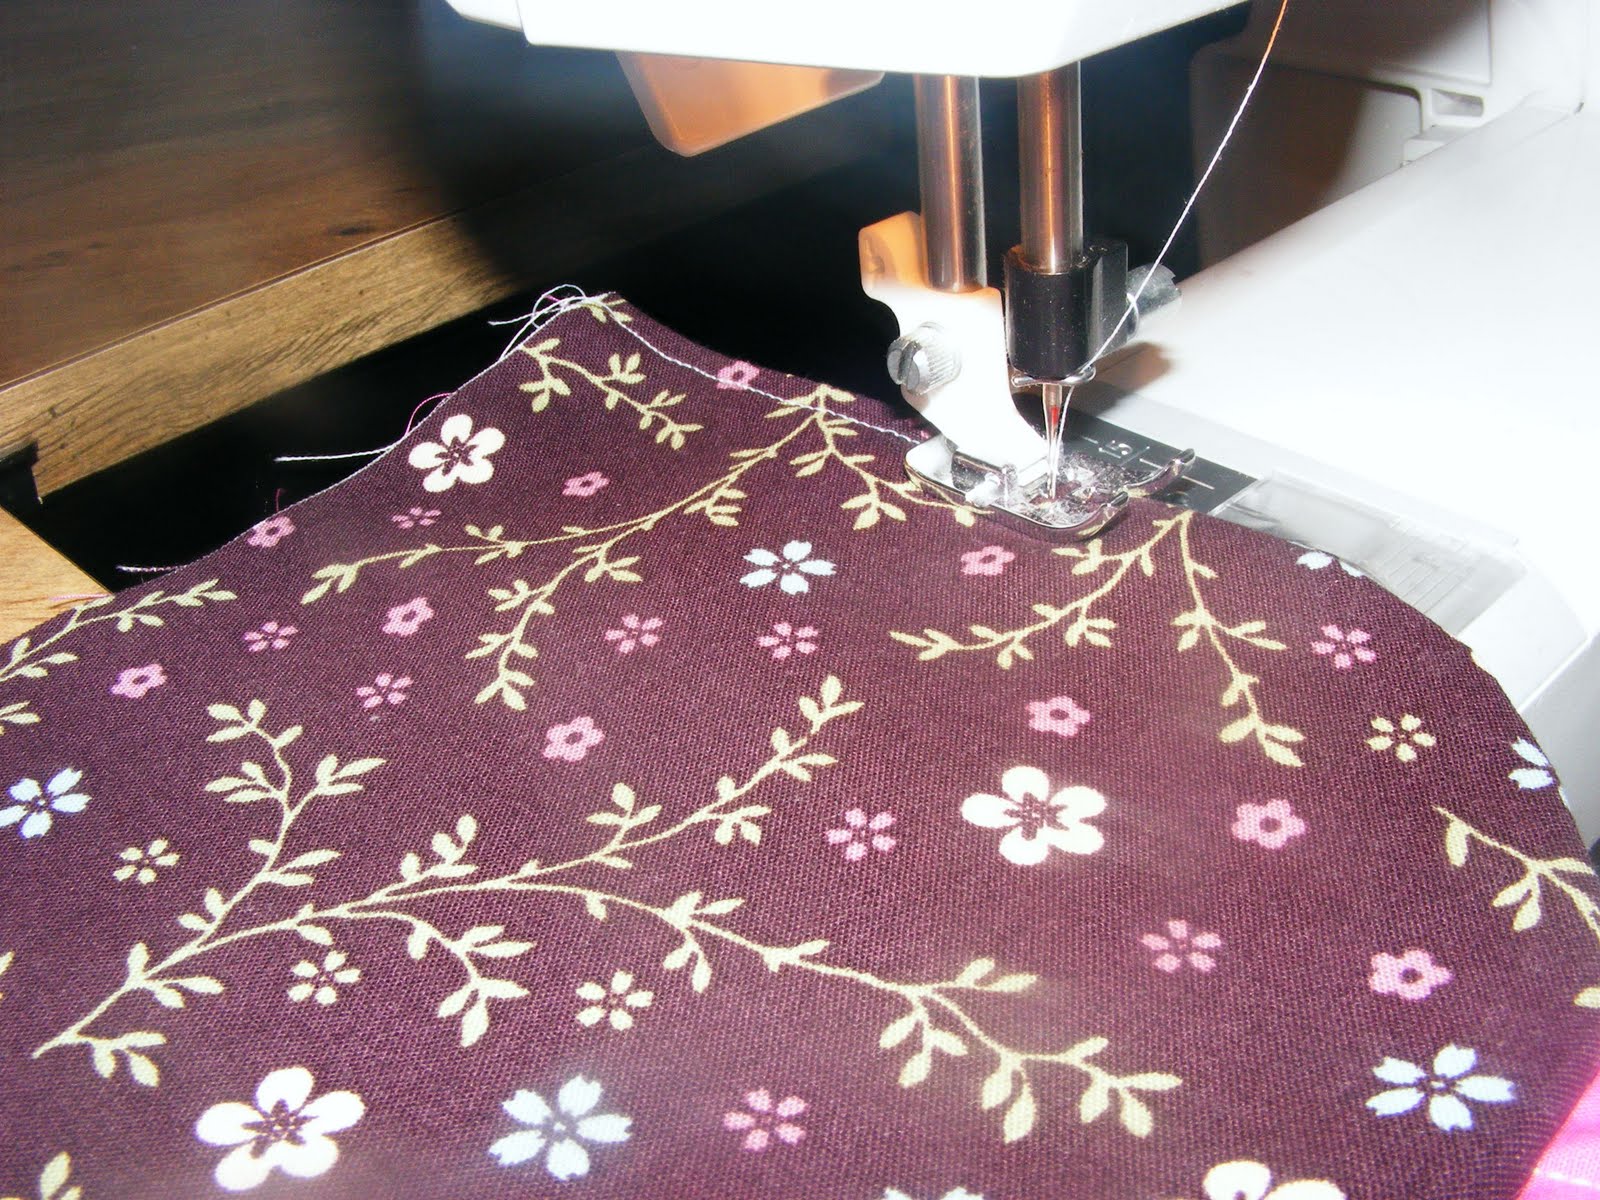
Increase your stitch length to as long as you can (mine is 6.0), sew along the entire length of the raw edge of the ruffle. Most gathering instructions will have you do two seams for gathering, I didn't do it because my machine was being so finicky. It would have been helpful, though.
Skip to my Lou has an interesting way of gathering that I'd like to try when my machine works... be sure to check it out.
Fold the piece in half and mark with a pin.

Pull thread at either end and gather the ruffle until its the length you need to fit around the bottom of the apron.

Mark the bottom, middle of the bottom apron piece with a pin. Match up the pins marking the middle. Making sure not to twist the ruffle, attach it to the rest of the bottom of the apron. To allow for the ruffle to taper onto the apron, attach it as pictured below (or as described on Skip to my Lou).

See how you want to have the raw/gathered edge of the ruffle with the raw edge of the right side of the apron? Lots and lots of pins are very helpful here. :)

Lay the lining fabric on top of the ruffle and main fabric, right sides together. Pin in place.

Sew, with 5/8" seam allowance to make sure you get all of the ruffle attached. Again you'll leave the top edge open, so you're only sewing along the sides and bottom.

Turn right side out, press, and top stitch.
Attaching the Waistband: Take the waistband piece that you prepared earlier and place it over the top edge of the bottom of the apron.

You'll kind of sandwich the waistband around the apron. So each side of the waistband is the bread and the apron is the meat. One of the short sides of the waistband should be close to the side edge of the apron, the other short side will be long hanging off the apron to wrap around the waist.

You also want to put the top piece of the apron on at this point. Since its a totally finished piece I just placed it on the back of the waist band as pictured below.

Top stitch along all four sides of the waist band. I know, the seams here are embarrassing. I'm over it. The last thing you want to do is add a piece of velcro, so it stays on. Sew a piece that is 3 inches to the apron itself. Sew a 2 inch piece of the alternate side of velcro to the front of the long end of the waist band. This way it will wrap all the way around the waist and your child can attach it themselves! Perfect!

You ready for the finished product? Here are my four... I think it took longer to write up this blog post than to sew each one.

See my variations of pocket sizes and sides?


I'm going to make one for myself next, the steps will be basically the same, but I will make some changes to the attachment of the top... stay tuned. Until then, go ahead and make one for someone you love. My boys are begging me to make one for them now....
Linked up at
sew-licious home decor